QUESTION IMAGE
Question
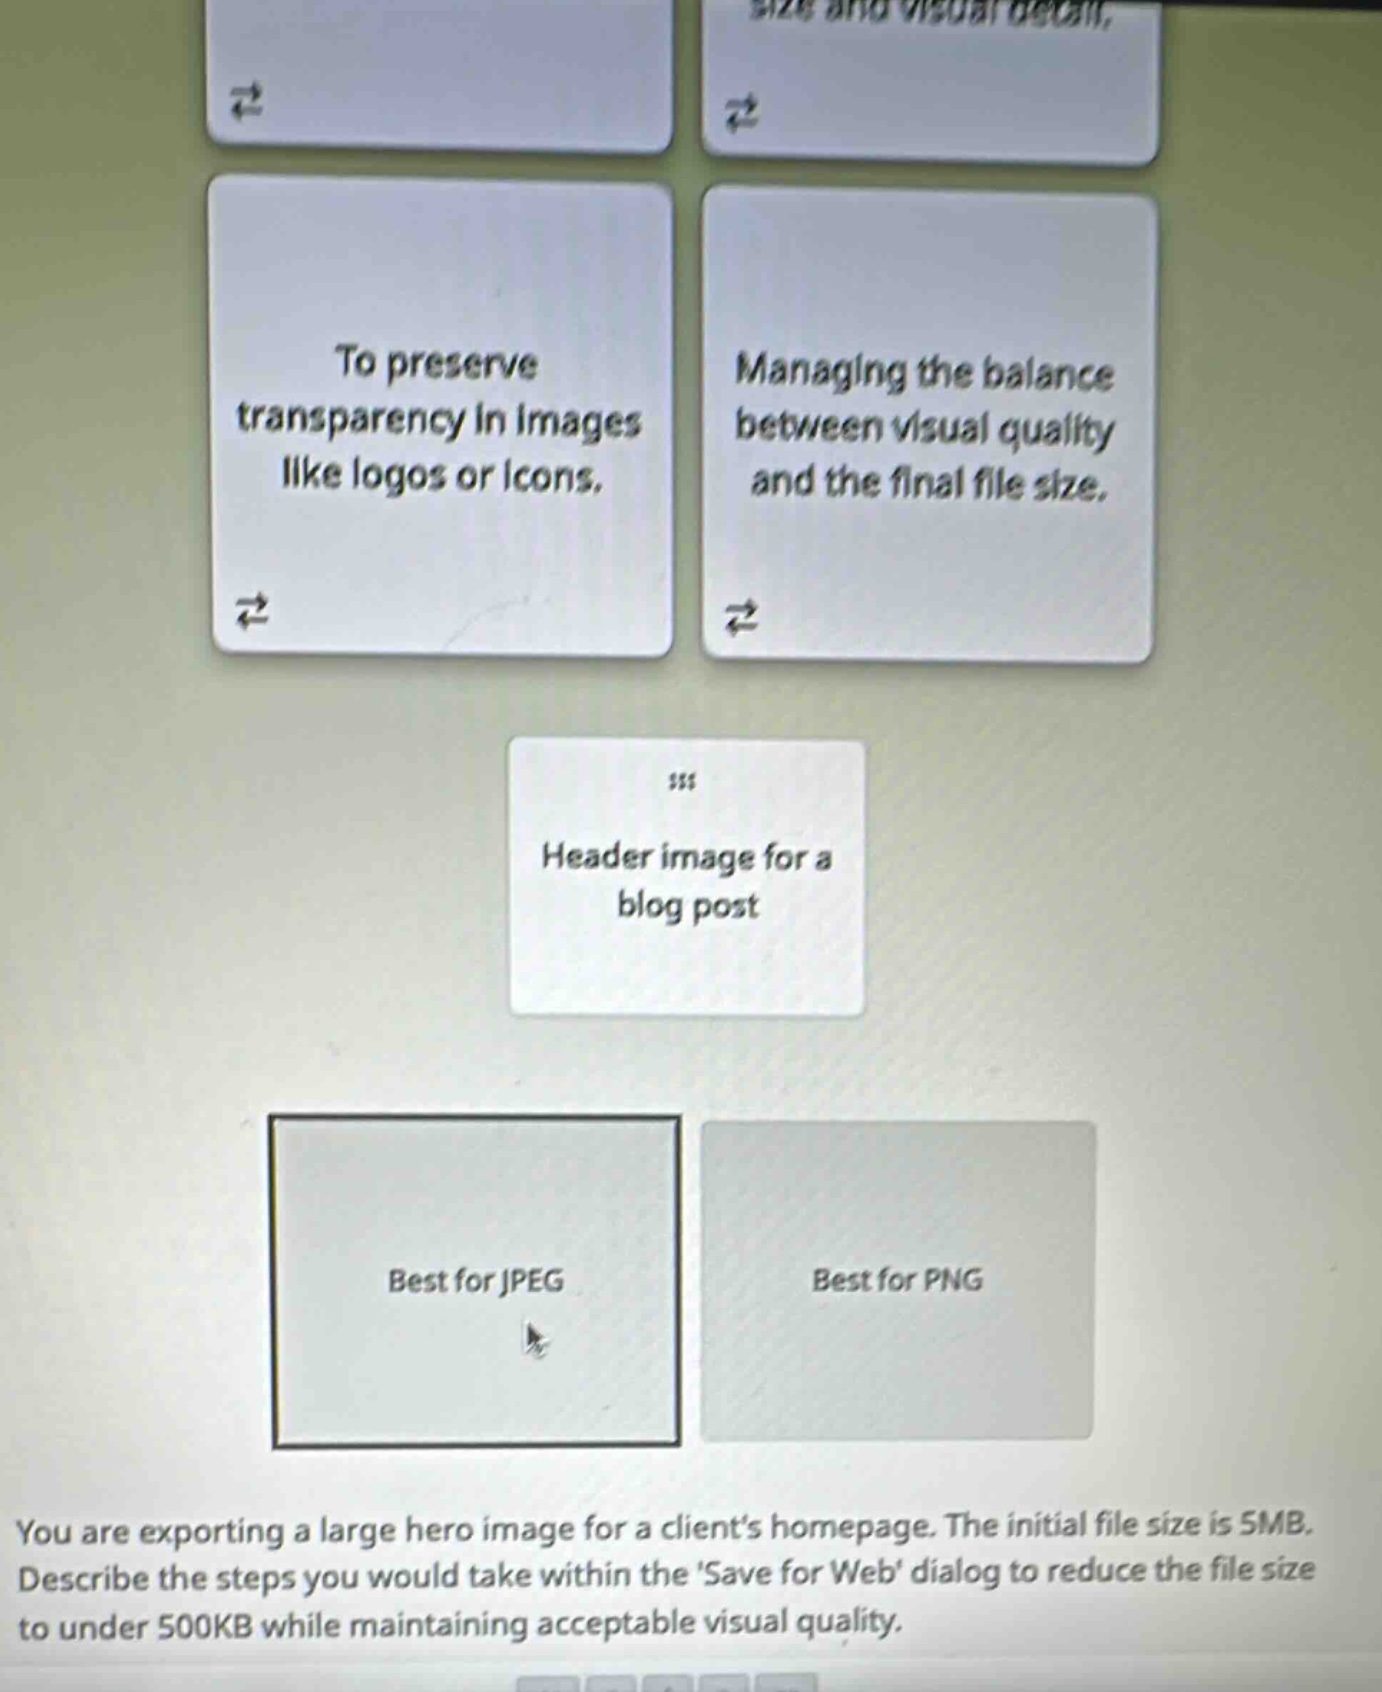
you are exporting a large hero image for a clients homepage. the initial file size is 5mb. describe the steps you would take within the save for web dialog to reduce the file size to under 500kb while maintaining acceptable visual quality.
🆕 New Concept Discovered: Image Optimization for Web
Choosing the right format and settings to balance quality and file size.
Step 1: Analyze the Scenario
You need to export a large hero image (initially \( 5\text{ MB} \)) to be under \( 500\text{ KB} \) while maintaining acceptable visual quality. A hero image is typically a rich, photographic image spanning the width of a webpage.
Step 2: Choose the Correct File Format
In the "Save for Web" dialog, select JPEG as the file format.
- Why: JPEG is a lossy format designed specifically for photographs and complex images with continuous tones. It allows for significant file size reduction compared to PNG, which is lossless and better suited for graphics with transparency or flat colors.
Step 3: Adjust the Quality Settings
Locate the Quality slider or dropdown menu (usually set to Maximum, Very High, High, Medium, or Low).
- Action: Lower the quality setting to High or Medium (typically a numerical value between \( 50 \) and \( 60 \)).
- Why: This range offers the best balance, significantly reducing the file size while keeping the visual compression artifacts virtually unnoticeable to the human eye on a standard screen.
Step 4: Optimize Image Dimensions
Check the Image Size section at the bottom right of the "Save for Web" dialog.
- Action: If the physical pixel dimensions (width and height) are larger than necessary for a web browser (e.g., wider than \( 1920\text{ px} \) to \( 2560\text{ px} \)), scale down the width and height.
- Why: Reducing the physical pixel dimensions is one of the most effective ways to drastically shrink the file size.
Step 5: Enable Progressive and Strip Metadata
- Action: Check the box for Progressive and set the Metadata dropdown to None or Copyright Only.
- Why: "Progressive" makes the image load in stages (blurry to sharp), improving perceived loading speed. Removing unnecessary metadata (like camera details and GPS data) shaves off extra kilobytes from the final file size.
Step 6: Verify and Save
- Action: Look at the live file size preview in the bottom-left corner of the "Save for Web" window. If the estimated size is under \( 500\text{ KB} \), click Save. If it is still over, slightly lower the Quality slider further until the target size is met.

Snap & solve any problem in the app
Get step-by-step solutions on Sovi AI
Photo-based solutions with guided steps
Explore more problems and detailed explanations
To reduce the hero image from \( 5\text{ MB} \) to under \( 500\text{ KB} \) in the "Save for Web" dialog:
- Select JPEG as the file format (best for photographic hero images).
- Set the Quality to Medium or High (around \( 50\text{–}60 \)) to balance compression and visual quality.
- Resize the Image Dimensions to match the maximum required web width (e.g., \( 1920\text{ px} \)).
- Check "Progressive" and set Metadata to "None" to strip unnecessary data and optimize loading.
- Verify the file size preview in the bottom-left corner is under \( 500\text{ KB} \), then click Save.