QUESTION IMAGE
Question
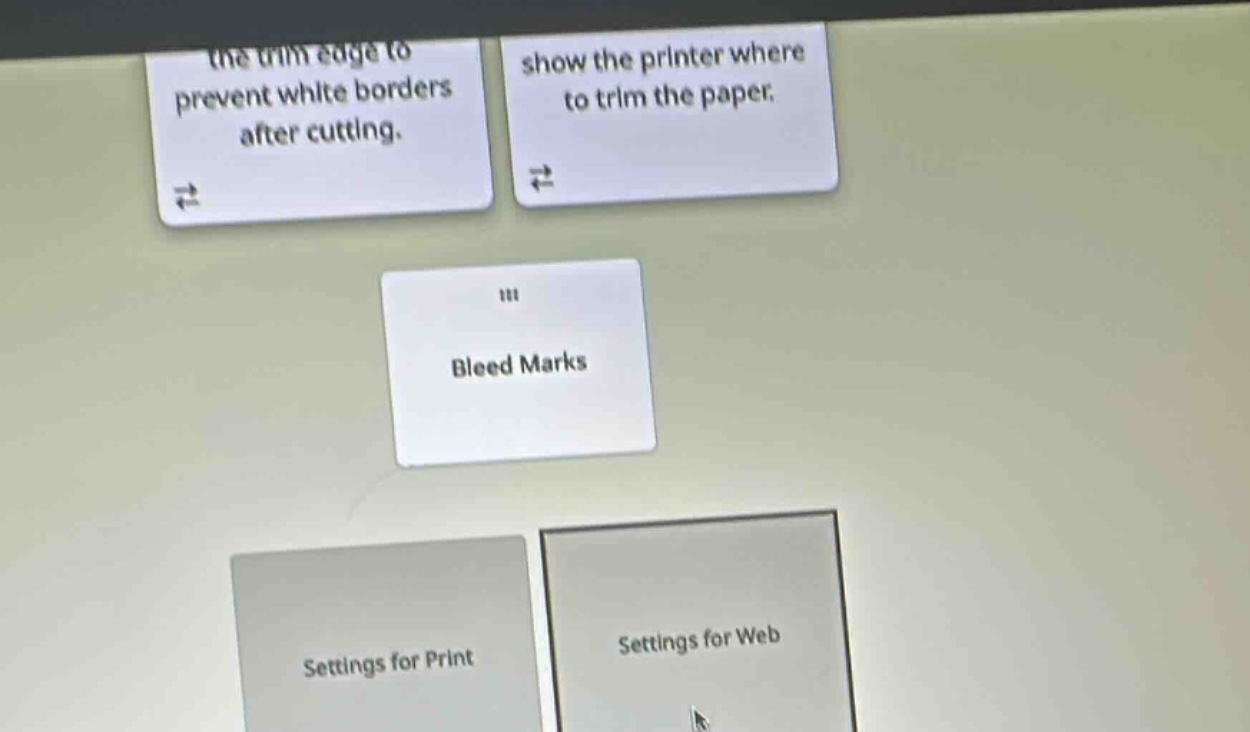
the trim edge to prevent white borders after cutting.
show the printer where to trim the paper.
bleed marks
settings for print
settings for web
🆕 New Concept Discovered: Print vs. Digital Document Setup
Understanding settings like bleed, trim, and margins for physical printing.
Step 1: Understand "Bleed Marks"
In graphic design and printing, "bleed" refers to artwork or color that extends slightly beyond the final trim edge of the sheet.
- Why we use it: When the printed paper is cut to its final size, there can be slight shifts in the cutting blade. Extending the design into the bleed area ensures that no unwanted white borders appear along the edges of the finished product.
- Where it applies: Bleed is strictly a physical printing requirement. Digital screens (websites, mobile apps, web graphics) do not undergo physical cutting, so they do not use bleed marks.
Therefore, Bleed Marks belongs under the category Settings for Print.
Step 2: Match the Definitions
Let's look at the two definition cards at the top of the screen to see which one describes "Bleed Marks":
- "the trim edge to prevent white borders after cutting." (This is cut off at the start, but refers to extending artwork past the trim edge—which is the definition of Bleed).
- "show the printer where to trim the paper." (This refers to Crop Marks or Trim Marks, which are thin lines printed in the corners of the sheet to guide the cutting blade).
Since the card in the center is Bleed Marks, its primary purpose is to extend the design beyond the trim line to prevent white borders after cutting.

Snap & solve any problem in the app
Get step-by-step solutions on Sovi AI
Photo-based solutions with guided steps
Explore more problems and detailed explanations
- Category: Drag Bleed Marks into Settings for Print.
- Definition Match: Match Bleed Marks with the card that says:
"the trim edge to prevent white borders after cutting." (This refers to extending the design past the trim edge).